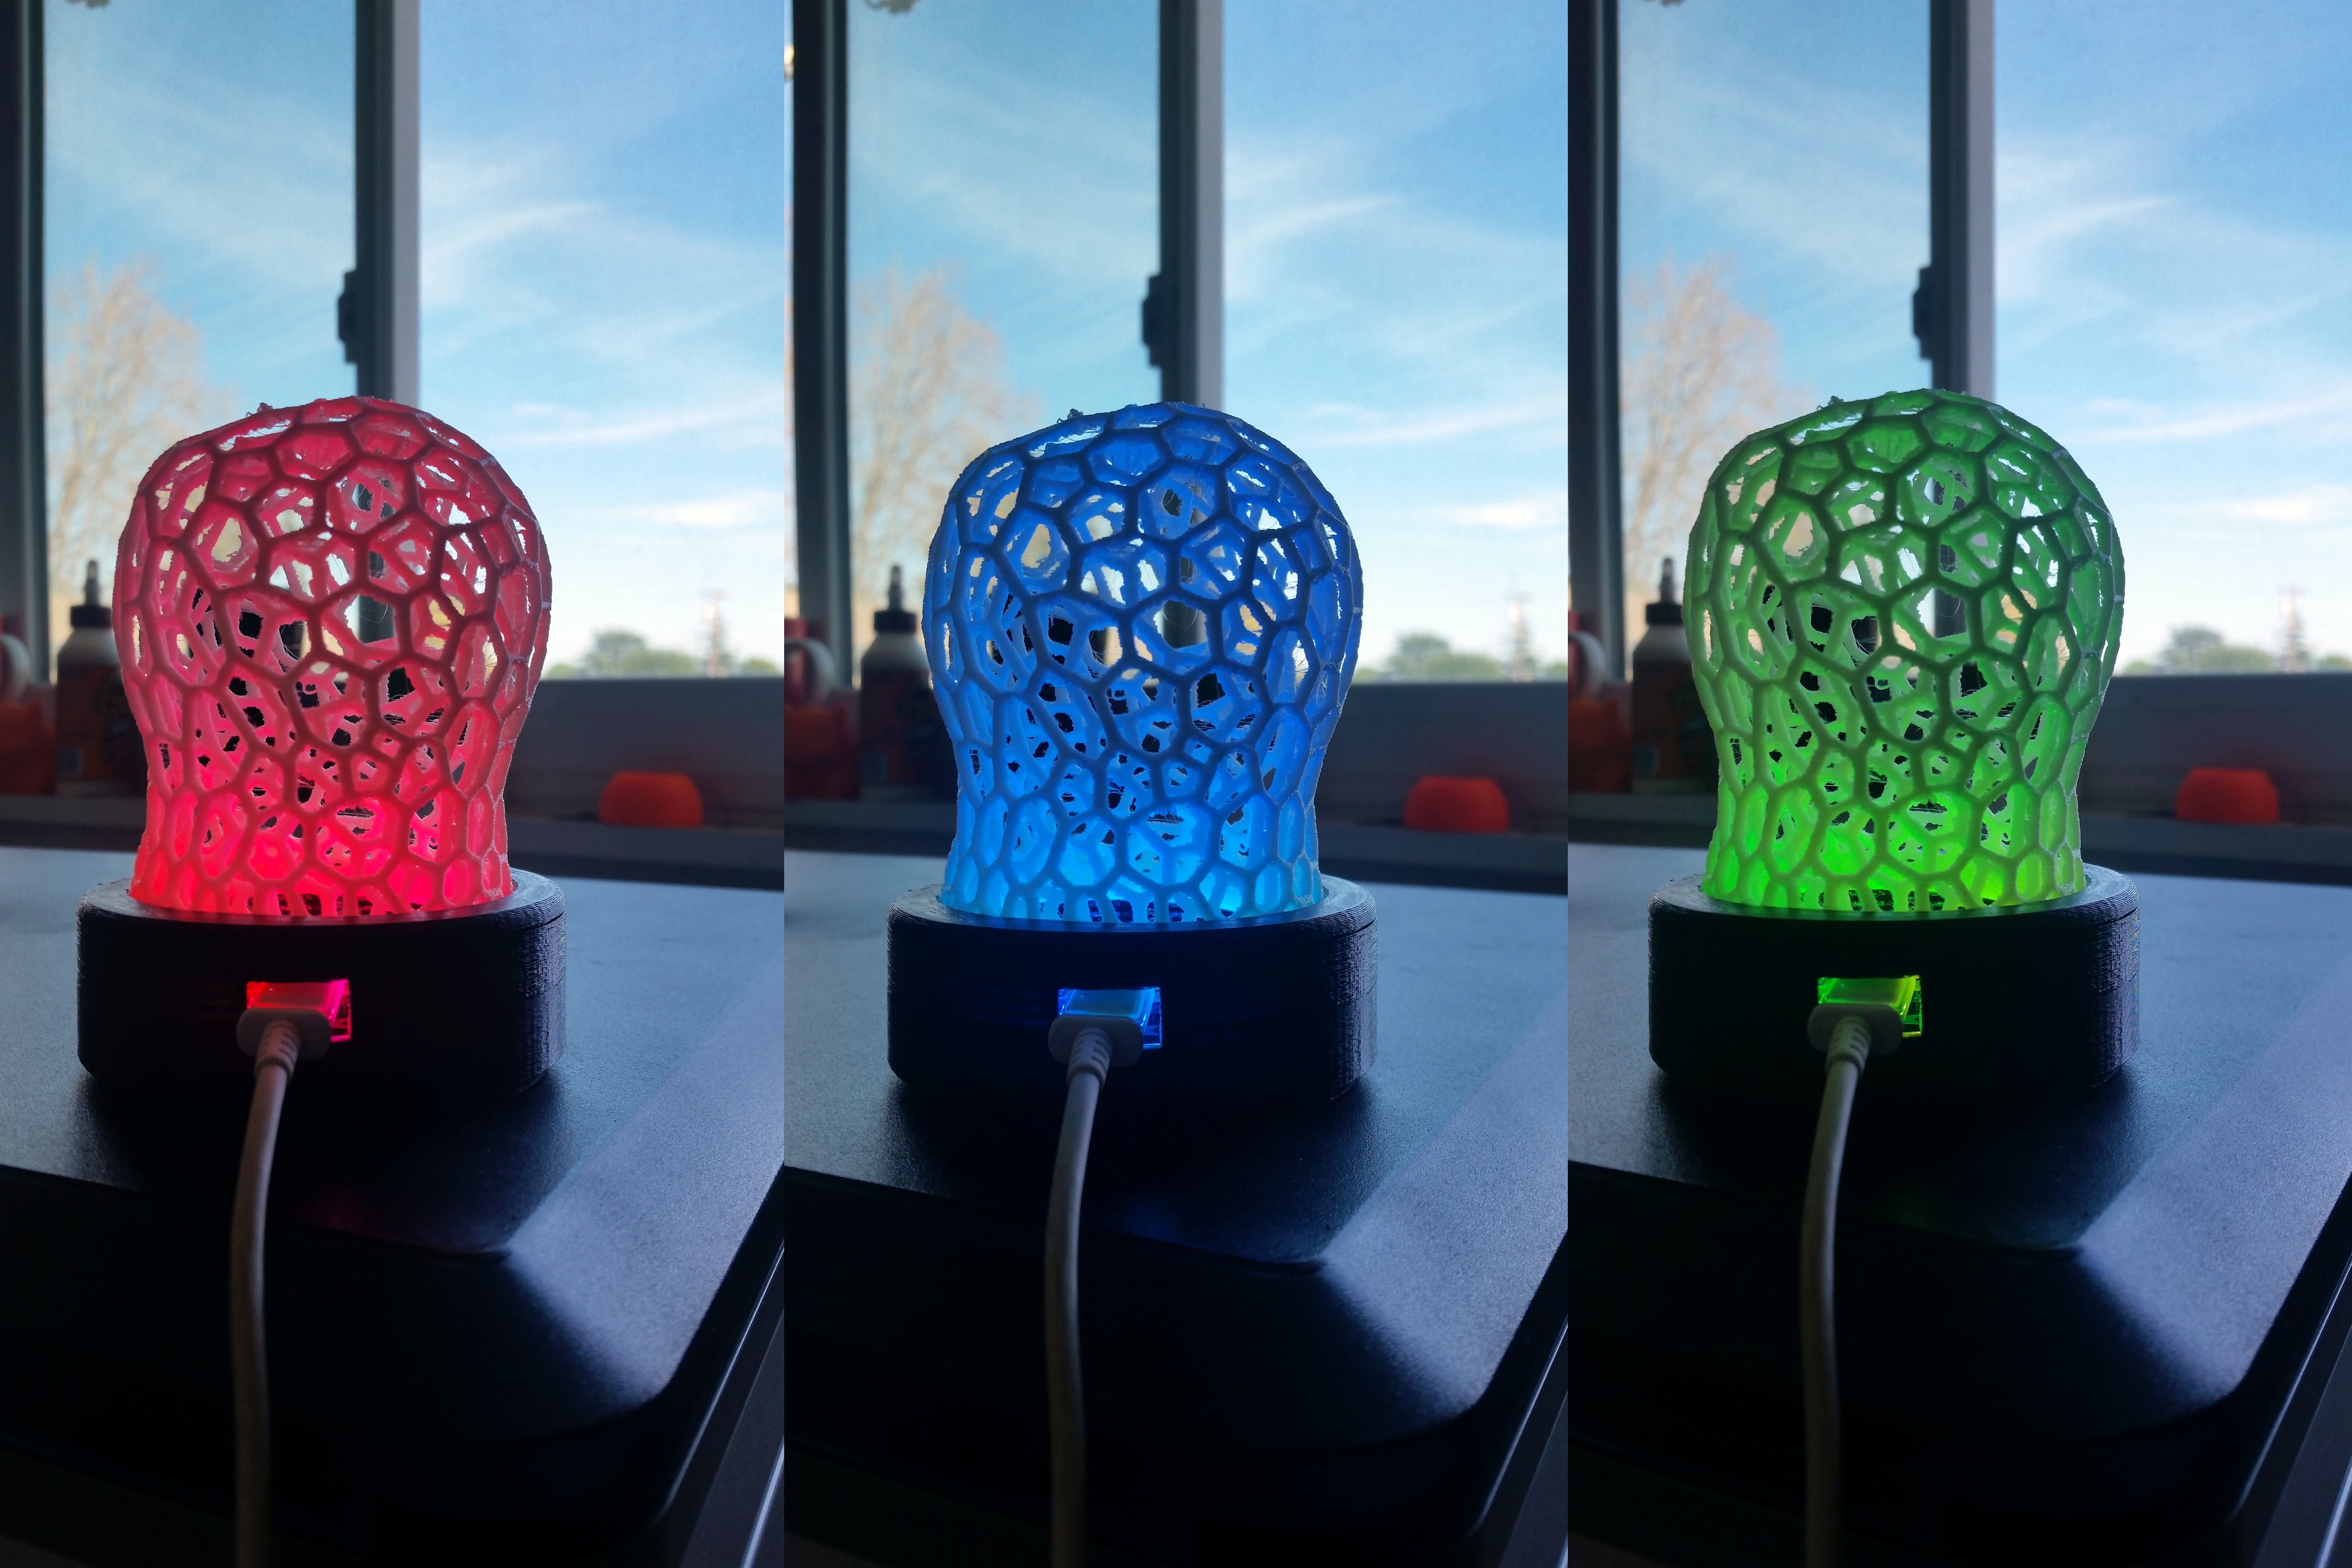
General Description of the lamp
This 3D printed desktop lamp is enabled by a Particle Photon. The Photon is a prototyping tool that comes with a Wi-Fi chipset. This enables interfacing sensors/actuators to the internet and monitor them remotely. This lamp is equipped with a 24 Pixel circular RGB LED strip called the Neopixel from Adafruit Industries .
Note: This lamp is a remixed version of the Adafruit Feather lamp.
The Particle Photon can be used to produce different color combinations on the RGB LED strip as shown in the picture below:

Building the lamp
The following are needed to build the lamp:
-
Particle Photon
- 3D printed enclosure + lamp shade
- Micro USB cable
- 24 pixel Neopixel ring.
Enclosure print:
The enclosure + lamp shade could be printed using 3D printing services like 3D Hubs.
Particle Photon - Firmware + Setup
The Particle Photon has to be setup to receive rollbar alerts. This includes adding the WiFi credentials to the Photon. The firmware files for Particle Photon is available from here. This tutorial explains compiling the code and flashing it on the Photon.
The firmware consists of two major components:
- Controlling the neopixel
- Receiving incoming alerts from the web.
Controlling the neopixel:
There are libraries from Adafruit to control the neopixel using the Particle Photon. The firmware used to build this lamp was based on one of the examples available with the library.
Receiving incoming alerts from the web:
The Particle Photon enables registering a function that could be executed when a rollbar alert is received. For e.g.: A function called triggerAlertcan be registered as follows:
bool success = Particle.function("trigger", triggerAlert);
The string trigger is used to make a POST request to the Particle API. When a request is received, the particle API triggers the function triggerAlert. This sets a flag triggerReceived.
int triggerAlert(String command){
    if(command == "triggered"){
        if(true){
            triggerReceived = true;
            return 1;
        }
    }
    return -1;
}
The main thread on the Particle Photon keeps checking for this flag and changes its behavior accordingly:
if(triggerReceived){
    for(int i=0;i<25;i++){
        colorWipe(strip.Color(255, 0, 0), 50); // Red
        colorWipe(strip.Color(0, 0, 0), 50); // Off
    }
    triggerReceived = false;
}else{
    for(int i=0;i<2;i++){
        colorWipe(strip.Color(255, 255, 255), 50); // White
        colorWipe(strip.Color(0, 0, 0), 50); // Off
    }
}
In order to trigger the Particle Photon for an alert, the Photon's device id and an access token is necessary. This information is available at particle.io


A trigger could be sent to the Particle Photon in the following format:
https://api.particle.io/v1/devices/{DEVICE_ID}/trigger
The body of the request should contain the arguments to the trigger function and the access_token:
args=triggered&access_token={ACCESS_TOKEN}
Setting up Rollbar webhooks
The alert could be sent to a Particle Photon using Rollbar's webhook notification option.

Rollbar provides a rule engine to send triggers to a specific event. Once the rule to send an alert is configured, it is time to send a test notification.
When there are no rollbar alerts, the lamp glows white:

When an error notification is received, the lamp sends in a red sweep for about 30 seconds:

Customization of alerts:
It is possible to customize this alerting tool with a reset button. The code could be tweaked to make the lamp reset its behavior only if the error is resolved. This alerting tool could also be used to track the number of days since the last error on a big digital signage.